How to Dinosaur Cake: Bake a Prehistoric Showstopper!
To make a dinosaur cake, bake your cake base, then cut and assemble it to create a dinosaur shape before decorating. Use icing and fondant to bring your cake to life with colors and textures.
Every child who adores dinosaurs will be thrilled with a dinosaur-themed cake at their birthday party, and crafting one at home can be a delightful challenge. With the right tools and a touch of creativity, anyone can transform a simple cake into a prehistoric masterpiece.
Begin with a reliable recipe for a sturdy cake that can hold up to the carving and shaping necessary to create your dino design. Choose a frosting that’s easy to spread for a base coat and to affix fondant details like scales, eyes, and teeth. Whether you’re aiming for a fearsome T-Rex or a friendly Brontosaurus, the key to success lies in planning your design and executing it with patience and care. Imagine the excitement when your edible dinosaur reveals itself, ready to become the centerpiece of a memorable birthday celebration.
Ingredients And Tools Needed
Ready to make a roaring dino cake that will have everyone’s jaws dropping? Begin with knowing what you’ll need — from measuring cups to dino molds, it’s time to stock up your kitchen. Let’s plunge into the world where paleo-baking meets fun!
Gathering Your Supplies
Before we get baking, let’s gather all the tools and equipment. This sets our prehistoric stage for a dessert that’s bound to impress.
- Liquid measuring cups – for all wet ingredients
- Measuring spoons – precision is key
- Mixing bowls – mix up a dino-mite batter
- Electric mixer – save your arms some work
- Spatulas – for seamless stirring and scraping
- Dinosaur cake mold – shape your cake into a prehistoric creature
- Frosting knives – spread that icing smooth
- Piping bags and tips – add details to bring your dino to life
Key Ingredients For The Perfect Dino Cake
The right ingredients will take your cake from good to great. Here’s what you’ll need for a cake that roars with flavor.
| Ingredient | Quantity |
|---|---|
| All-purpose flour | 3 cups |
| Granulated sugar | 1 1/2 cups |
| Baking powder | 1 tablespoon |
| Salt | 1/2 teaspoon |
| Unsalted butter | 1 cup (softened) |
| Eggs | 4 (large) |
| Vanilla extract | 2 teaspoons |
| Milk | 1 cup |
| Green food coloring | As needed |
Want vibrant colors? Opt for gel food coloring. It’s stronger than liquid and won’t alter the batter’s consistency.
Designing Your Dinosaur Cake
Designing Your Dinosaur Cake is an adventure into prehistoric creativity! Whether for a birthday or a themed party, turning a cake into a dino masterpiece is both fun and rewarding. Here’s how to get started with a design that will wow any dinosaur enthusiast.
Choosing Your Dinosaur
Before the baking begins, pick your dinosaur. Consider the favorite species of the guest of honor. T-Rex or Triceratops? Maybe a gentle Brachiosaurus? The choice sets the stage for your cake.
- Consider Size: A large dinosaur might need a bigger cake.
- Color: Think about what colors you will use. Dinosaurs come in every color!
- Posture: Decide if your dino stands tall or is in action!
Sketching Your Cake Blueprint
Great cakes start with a plan. A cake blueprint guides your baking journey. Grab some paper, markers, and let your imagination run wild.
- Draw the shape of your cake base. Round? Square? Unique?
- Add the dinosaur outline on top. Sketch where it will sit.
- Plan where to add trees, volcanoes, or other decorations.
- Mark colors and textures you want to incorporate.
Remember to keep your drawings simple. You don’t have to be an artist. This sketch is a roadmap to your spectacular dino cake!
Baking The Cake
Ready to make a dinosaur cake? Let’s start where the magic happens: baking the cake. This process is both fun and crucial to creating a perfect prehistoric party centerpiece. We’ll mix up a delicious batter and bake it to moist perfection. Follow the steps below and you’ll have a dino-riffic cake base in no time!
Mixing The Batter
Creating the perfect batter is the first step to a cake that tastes as good as it looks. Here’s what you’ll need to do:
- Choose your ingredients carefully. Fresh eggs, milk, and butter make a difference.
- Sift your dry ingredients to avoid lumps. This includes flour, baking powder, and cocoa if making a chocolate cake.
- Mix wet and dry ingredients until just combined. Overmixing is a no-no!
- Stir gently to keep the batter light and fluffy.
Timing And Temperature: Ensuring A Moist Cake
A dinosaur-sized disaster is the last thing we want! Proper timing and temperature are key for a moist cake. Here’s a simple guide:
| Oven Temperature | Bake Time | Test for Doneness |
|---|---|---|
| 350°F (175°C) | 25-30 minutes | Insert toothpick; it should come out clean. |
Remember to preheat your oven before you start. Always place the cake in the center of the oven. This ensures even baking. Keep an eye on the time, and do the toothpick test before taking out the cake.

Credit: www.facebook.com
Sculpting The Dinosaur Shape
Welcome to the thrilling world of cake design, where today we’re crafting a prehistoric masterpiece. It’s not every day you get to bring a dinosaur back to life with frosting and sponge cake! Our journey brings us to the exquisite art of sculpting the perfect dinosaur shape. Follow these simple steps to create an edible dino that will roar its way into the hearts (and stomachs) of all your party guests.
Carving The Cake
Begin by baking two simple rectangular cakes. These will form the body of your dinosaur. Once cooled, sketch a basic dinosaur outline on paper. Lay this template over your cakes. Now, use a serrated knife to carve the cakes into shape. Remember, it’s bold strokes for bold creatures! Aim for clean cuts to define the head, tail, and limbs. Small pieces can turn into feet or spikes.
Layering And Structuring
Our dino needs layers to stand tall and fearsome! Spread a generous amount of delicious frosting between the cake layers for stability and flavor. Stack the layers to build height. Use dowels or straws to give our dinosaur cake structure. Insert these into your cake layers to prevent any prehistoric cake-tastrophes. The main parts of your dinosaur now come together as it starts to take shape!
As you structure your cake, be mindful of the following:
- Balance: Keep the layers evenly balanced to avoid a lopsided dinosaur.
- Support: Ensure each dowel is placed strategically to hold the weight of the cake.
- Smoothness: A smooth layer of frosting hides any carving imperfections.
With patience and creativity, your dinosaur cake will soon be ready for the final touches. It’s a fun, memorable activity that’s guaranteed to be the talk of the party. Let’s keep sculpting!
Decorating Details
Decorating Details bring your dinosaur cake to life. It’s time to make your creation roar with personality! From mixing vibrant frostings to shaping scales and teeth, each detail will add depth to your edible masterpiece. Beginners and experienced bakers alike can achieve spectacular results. Follow these simple steps for a dino-tastic cake display.
Whipping Up Colorful Frosting
Color is key in bringing your dinosaur cake to life. Start with basic white frosting. Use food coloring to create a palette of prehistoric hues.
- Green for the body,
- Yellow for the belly,
- and maybe Purple for stripes or spots.
| Color | Amount |
|---|---|
| Green | 3 cups |
| Yellow | 1 cup |
| Purple | 1/2 cup |
Adding Textures And Features
Create a dinosaur skin effect with a textured spatula. Apply pressure and drag to create scales.
For other features:
- Use a small tip for eyes and teeth,
- Piping bags for crest and claws,
- and edible decorations for extra flair.
Remember:
Details matter!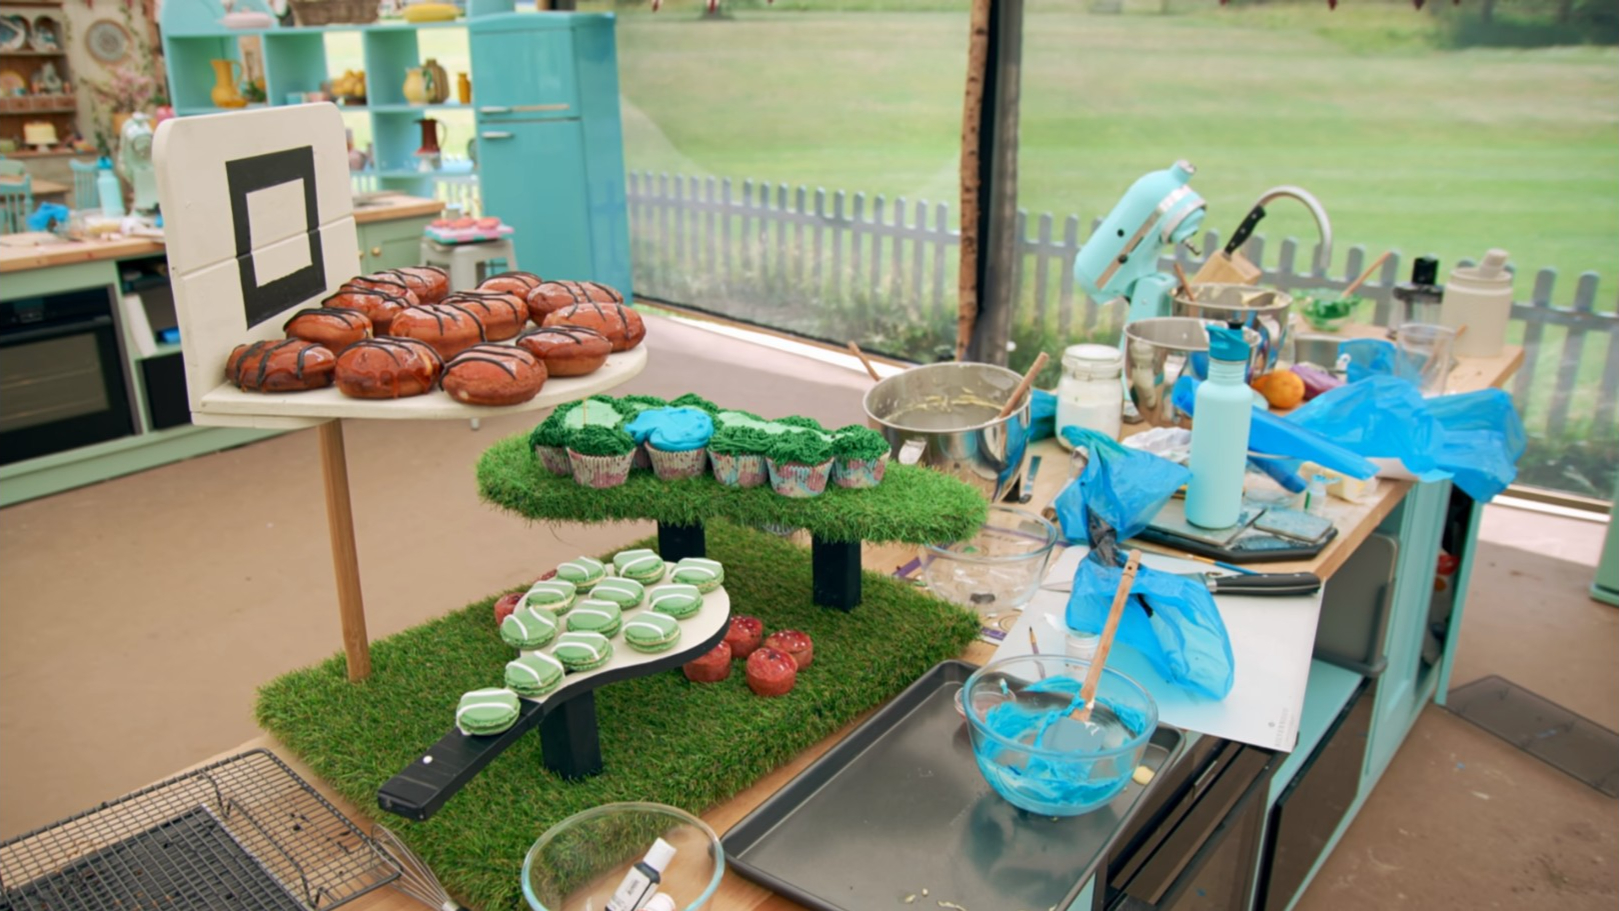
Credit: tellyvisions.org
Final Touches And Presentation
Welcome to the captivating final stage of your dino-mite baking adventure—Final Touches and Presentation. Sculpting your cake into a dinosaur is an adventure, but it’s the final detail work that brings this prehistoric creature to life. Let’s explore how to transform your cake into a Mesozoic masterpiece and ensure it arrives at the party safely.
Creating A Prehistoric Scene
Turn your plain cake into a scene from millions of years ago. Begin by placing your cake on a sturdy base. Use green icing or fondant to mimic grass. Spread blue icing to represent water. Craft trees from pretzel rods and green frosting. Add edible rocks and dinosaurs to your scene. A sprinkle of cookie crumble makes perfect dirt. Your cake now stands as a snapshot of the age of dinosaurs!
Transportation And Display Tips
Transporting your dinosaur cake can be tricky, but with careful planning, it’s a breeze. Firstly, use a solid base that can handle bumpy rides. Ensure your cake is well chilled before moving; this makes it more stable. Consider a box that fits snugly around the cake. Non-slip pads can stop it from sliding in your car. Once at the venue, place your cake in a spot away from heat and direct sunlight to avoid melting. Display your cake where everyone can see the impressive details.
Credit: tellyvisions.org
Conclusion
Crafting a dinosaur cake is a fun and rewarding adventure in the kitchen that’s sure to thrill any dino enthusiast. With the steps outlined, you’re equipped to create an edible prehistoric masterpiece. Remember to let your creativity soar and enjoy every bite of your dino delight! Ready to impress at your next party?
Let the baking begin!


