How to Draw a Dinosaur Step by Step: Quick & Easy Guide
To draw a dinosaur step by step, start with a simple outline and add details as you go. Begin with basic shapes like circles and rectangles to form the body structure.
Dinosaurs, the magnificent creatures who once roamed the Earth, continue to captivate our imagination. Sketching one doesn’t need to be as challenging as a T-Rex’s bite. Embracing the art of drawing can be a delightful journey into prehistoric times, whether you’re an aspiring artist or a seasoned sketcher.
Doodling a dinosaur involves breaking down the complex creature into manageable shapes and gradually refining the details. This method ensures a fun and achievable way to bring these ancient giants back to life on paper. So, grab your pencils and let’s embark on a creative adventure to recreate the rulers of the Jurassic age!

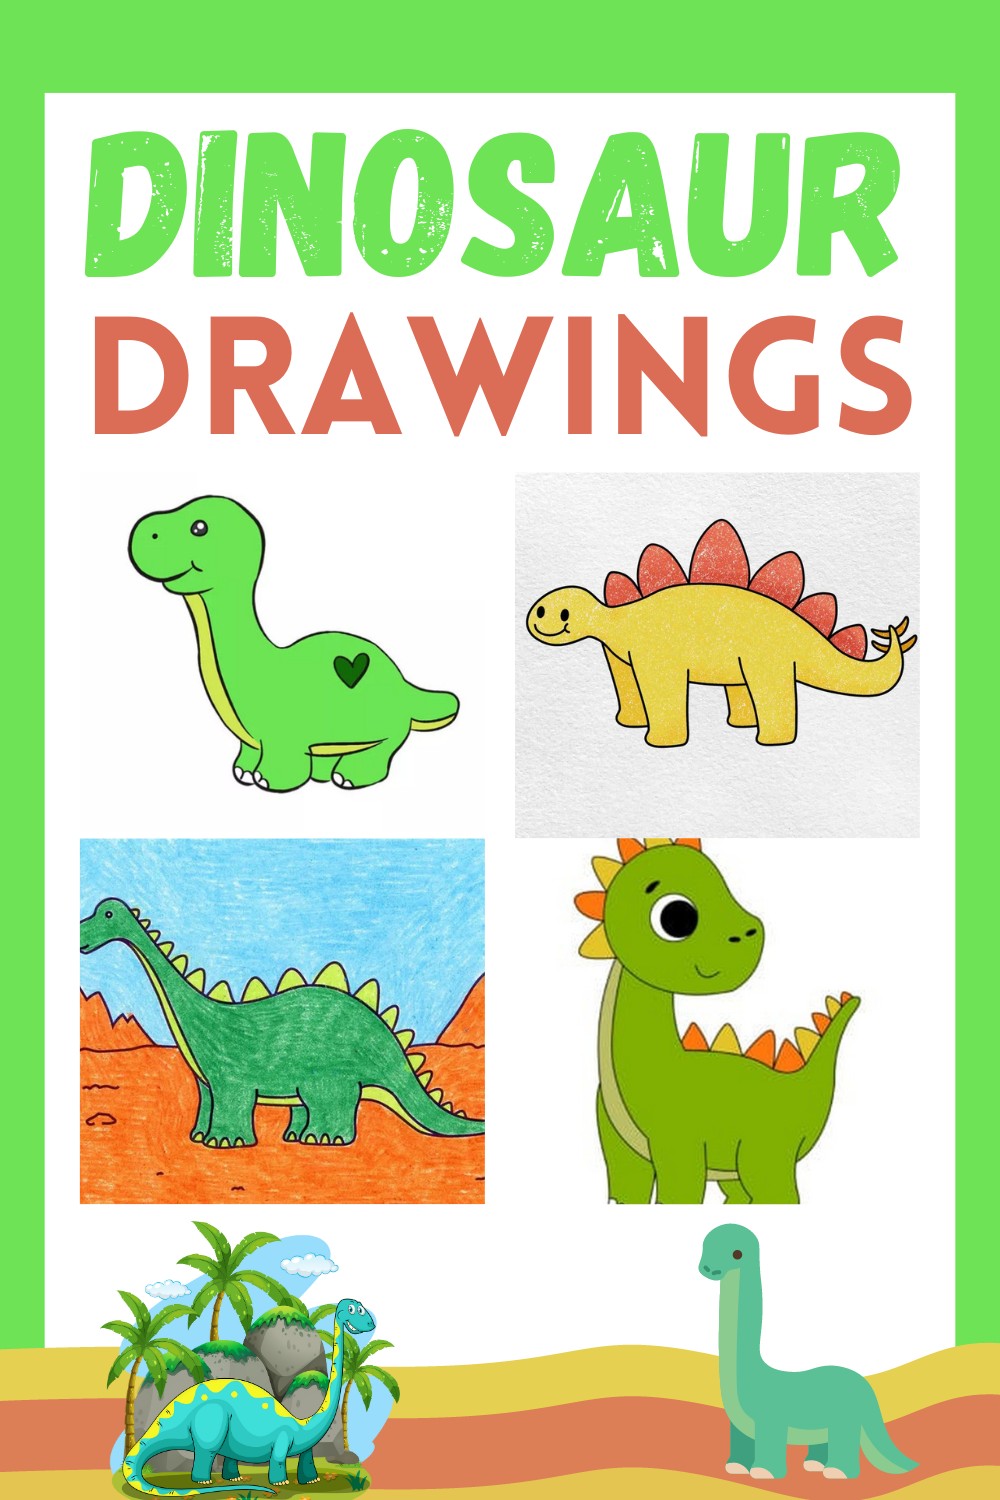
Credit: diycrafts.life

Introduction To Dinosaur Drawing
Welcome to the thrilling world of dinosaur drawing, where prehistoric creatures come to life under your pencil! Whether you’re a budding artist or simply enchanted by these majestic beasts, this step-by-step guide will help you capture the essence of dinosaurs with ease and confidence.
Capturing Prehistoric Charm
Learning to draw dinosaurs is not just about replicating shapes. It’s about embracing an era that has long passed, yet continues to fascinate us. With each line, you’ll feel closer to understanding these ancient giants and their captivating allure. Let’s prepare to breathe life into them!
Tools You’ll Need
Before you start, gather your tools. Quality drawing begins with the right materials. Here’s what you should have:
- Graphite Pencils: A variety of pencils will help you create dynamic shading.
- Eraser: For correcting mistakes and refining your sketch.
- Drawing Paper: A smooth surface is ideal for detailed work.
- Sharpeners: Keep your pencils sharp for precise lines.
- Colored Pencils or Markers: Add a splash of prehistoric color, if desired.
With these tools in hand, you’re ready to embark on an artistic journey back in time!
Choosing Your Dinosaur
Embarking on a prehistoric drawing adventure starts with a crucial step: Choosing Your Dinosaur. This step will set the foundation for your artistic journey into the Mesozoic era. Whether you’re a budding artist or an experienced illustrator, selecting the right dinosaur can make all the difference in bringing your sketch to life. Let’s dive into the fascinating world of these ancient creatures and help you pick the perfect subject for your artwork.
Popular Dinosaur Species
With a vivid palette of dinosaurs to choose from, you might feel overwhelmed. Below are some fan favorites that never fail to excite:
- Tyrannosaurus Rex: Known for its fearsome stature and mighty jaws.
- Triceratops: Recognizable by its three distinct horns and large frill.
- Velociraptor: A smaller, agile predator that fascinates with its cunning.
- Brachiosaurus: A gentle giant with an impressively long neck.
- Stegosaurus: Features unique plates along its back and a spiked tail.
These species are perfect for artists who are starting with dinosaur illustrations.
Anatomical Considerations
When you select a dinosaur, it’s essential to consider its anatomy. Here are some key elements to keep in mind:
| Dinosaur Part | Importance |
|---|---|
| Head | Indicates diet type (herbivore, carnivore) |
| Limbs | Shows mobility and posture |
| Tail | Helps with balance and movement |
| Skin Texture | Adds realism through scales or feathers |
Understanding these elements will assist in creating accurate representations of your chosen dinosaur. Maintain proportion and balance for a believable depiction. Practice and reference skeletal diagrams for additional accuracy and insight into each dinosaur’s unique characteristics.
Basic Shapes & Skeleton Structure
Before diving into the detailed drawings of dinosaurs, it’s key to grasp the basics. Think of it like building a house; you need a solid foundation. With dinosaurs, that foundation is the Basic Shapes & Skeleton Structure. This approach simplifies complex figures into manageable forms. Thus, it eases the journey from novice to skilled artist.
Creating The Framework
Starting with the skeleton lays the groundwork for your dinosaur drawing. Just like a puzzle, begin with the edges. Draw a simple line for the spine. Sketch an oval for the ribcage. Add circles for the joints and connect them with lines to form the limbs. This framework is your guide.
- Head: Start with a small circle.
- Spine: A gentle curve represents the backbone.
- Limbs: Use straight lines for now.
- Tail: Another curved line, longer this time.
Proportions And Joints
Every dinosaur species has unique body proportions. Understanding these is crucial for a realistic depiction. Look at your dinosaur’s skeleton framework. The circles for joints should be in proportion to the size of the body.
- Observe the size relationship between bones.
- Adjust the connecting lines to match real dinosaur proportions.
- Tweak the joints’ circles to be either larger or smaller, based on the species.
By sticking to these basic shapes and the skeleton structure, anyone can learn how to draw a convincing dinosaur step by step. Using simple forms helps maintain proportion and makes detailing easier later on. Keep practicing, and soon, intricate dinosaur drawings will be within your grasp!

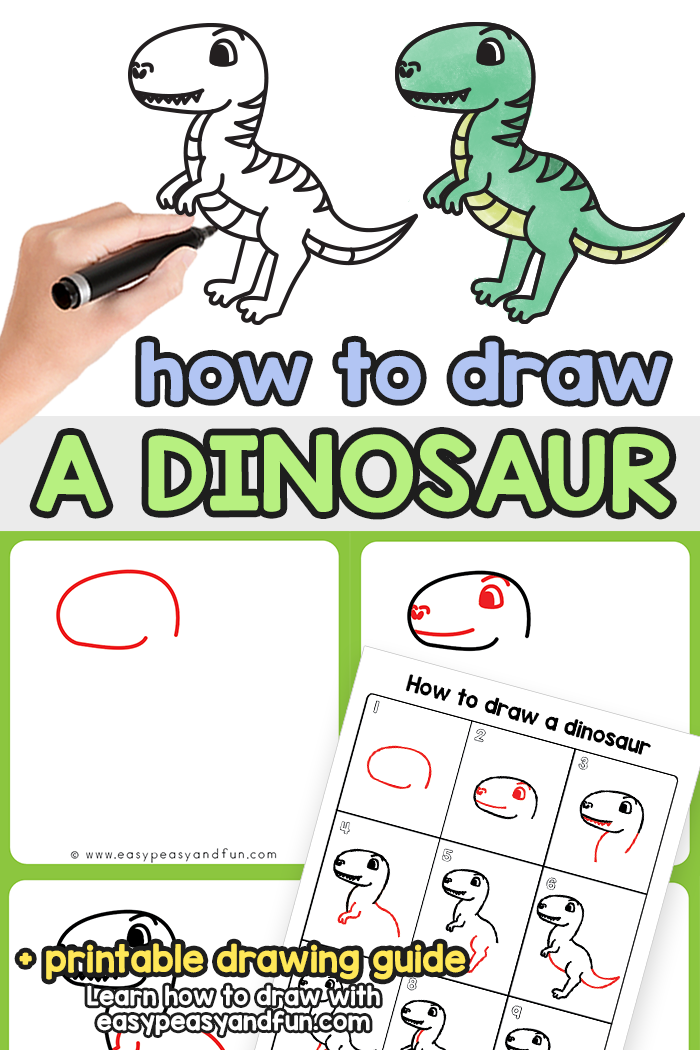
Credit: www.easypeasyandfun.com
Fleshing Out The Details
‘Fleshing Out the Details’ of your dinosaur drawing takes it from a simple sketch to a lifelike beast. The details matter, transforming flat lines into a dynamic creature. Once the basic shape is down, it’s time to add muscles and skin, giving your dinosaur depth and realism. Grab your pencil, and let’s give some life to that prehistoric giant.
Adding Muscles and SkinAdding Muscles And Skin
Dinosaurs were powerful creatures and showing muscle definition will make yours look strong. Visualize where the dinosaur’s muscles would be. Legs are especially muscular in creatures like the T-Rex. Show these details with curved lines. These lines mimic bulging muscles. Then, think about the skin. Is it scaly or smooth? Use light shading to suggest the texture without overwhelming your drawing.
- Highlight the thigh muscles with bold lines.
- Define the calf muscles with curved strokes.
- Use a soft pencil for a delicate skin texture.
Textures And Patterns
Textures bring your dinosaur to life. Think about how sunlight hits the skin, creating shadows and highlights. Start with the head and move down the body. Add small ‘V’ or ‘U’ shapes to create the scaly texture. Larger dinosaurs often have thicker, rougher skin. Smaller ones may have finer details. Patterns can tell a story of camouflage or display. Consider stripes or spots. Use a consistent pattern and spread it across the body.
- Start texturing at the top of the dinosaur.
- Create scales with varied ‘V’ and ‘U’ shapes.
- Be consistent in your pattern application.
Bringing Your Dinosaur To Life
Drawing a dinosaur is a fun and creative activity. It’s not just about connecting lines. It’s about bringing a mighty creature back to life on paper. With careful attention to detail, anyone can make a dinosaur roar off the page. Follow these simple steps to infuse life into your prehistoric masterpiece.
Eyes, Teeth, And Claws
To start, let’s focus on the dinosaur’s face. The eyes are the window to its soul, even if it’s a giant reptile from millions of years ago. Draw small, round shapes with a piercing dot in the middle to reflect a fierce gaze. Teeth play a big role in a dinosaur’s fierceness. Sharp, uneven teeth peeking out from the jaws will showcase its predatory nature. Don’t forget the claws. Whether it’s a T-Rex or a Velociraptor, strong arched claws add to the terror and the excitement.
- Start with circular eyes
- Add a dot inside for intensity
- Sketch uneven, sharp teeth
- Draw arched, pointed claws
Shading Techniques
Shading is what gives your dinosaur depth and dimension. Use light strokes to create areas of shadow beneath the belly, tail, and legs. Imagine the sun is shining down on your dinosaur from above. This will help you figure out where the darkest shades should go and where to leave it lighter. You can use a combination of pencil strokes such as cross-hatching and smudging to create texture on the skin. Practice these techniques:
| Technique | Use for |
|---|---|
| Cross-hatching | Scales and rough skin |
| Smudging | Smooth skin and muscle tone |
Remember, the direction and consistency of your shading will bring out the musculature and texture. Keep practicing and have fun as you bring your dinosaur to life!

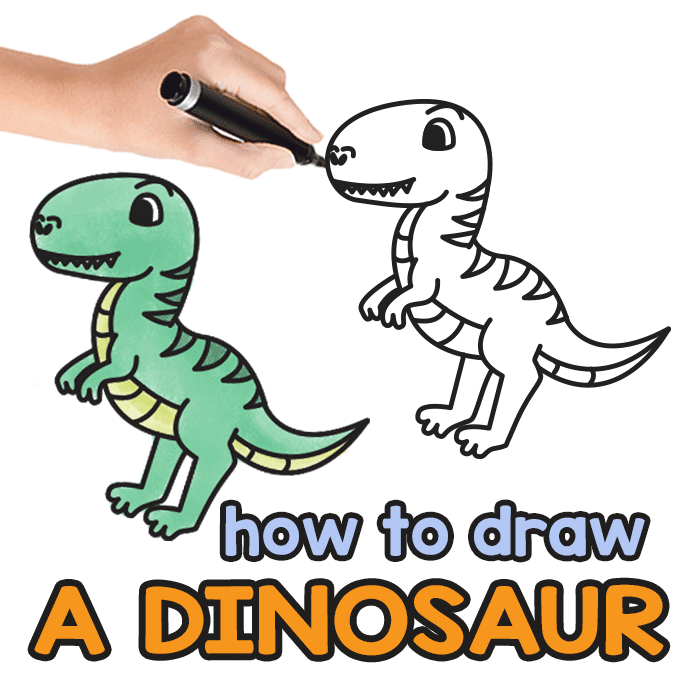
Credit: www.pinterest.com
Final Touches
Welcome to the final stage of drawing your dinosaur! It’s time to bring your prehistoric creature to life with some color and scenery. This is where your artwork truly shines. Let’s add some personality and depth to your dinosaur masterpiece with these next steps.
Coloring Your Dinosaur
Color breathes life into your drawing. Think about the kind of dinosaur you’ve sketched. What color suits it best? Here are some tips to make your dinosaur stand out:
- Choose vibrant hues for a more dynamic feel.
- Use shading to give your dinosaur a three-dimensional look.
- Experiment with patterns or textures like stripes or spots.
- Remember to color inside the lines to keep your drawing neat.
As you select your colors, think about the dinosaur’s habitat. Some dinosaurs might have colors that help them hide from predators. Others might be bright to attract a mate.
Background And Environment
Your dinosaur needs a place to roam! Creating a background will set the scene. Consider these ideas:
- Draw a lush jungle with lots of plants.
- Include a volcanic landscape for a dramatic effect.
- Add other dinosaurs or prehistoric creatures in the background.
- A simple horizon line can help show the terrain they’re walking on.
Use lighter colors for the background. This will make your dinosaur remain the main focus. With the environment in place, your dinosaur is no longer just a sketch; it’s a window into a bygone world.
Tips And Tricks
Embarking on the journey of drawing dinosaurs can be thrilling! With the right tips and tricks, anyone can create prehistoric wonders on paper. Whether sketching a fierce Tyrannosaurus Rex or a gentle Brachiosaurus, mastery in dinosaur drawing takes a bit of know-how. Let’s explore some ways to enhance your skills and resources that can help in your artistic quest.
Practicing Your Skills
Practice makes perfect, and this is especially true for drawing. Start with simple shapes like ovals for the body and rectangles for the legs. Imagine assembling a dinosaur from a set of building blocks. By practicing these simple shapes, your muscle memory kicks in, helping you in drawing more complex dinosaurs. When drawing, remember these points:
- Use Reference Images: Study pictures of dinosaurs to understand their body structure.
- Sketch Lightly: Begin with a light pencil outline, and you can correct mistakes easily.
- Observe Proportions: Ensure the head, limbs, and tail are in the right ratio to each other.
- Add Details Slowly: Finalize the shape before adding textures like scales and feathers.
Resources For Learning More
You can never have too many resources when learning to draw dinosaurs. Books, online tutorials, and museum visits can offer valuable insights. Here are some excellent starting points:
| Resource Type | How It Helps |
|---|---|
| Drawing Books | Step-by-step guides and professional tips. |
| YouTube Tutorials | Visual learning with real-time demonstrations. |
| Museum Visits | Close-up looks at dinosaur skeletons for accuracy. |
| Art Classes | Personalized guidance and feedback from experts. |
Frequently Asked Questions Of How To Draw Dinosaur Step By Step
How Do You Draw A Simple Dinosaur?
Start by sketching a bean shape for the dinosaur’s body. Add a long, curved neck and small head. Attach two legs with wide bases for stability and a long, thin tail for balance. Finish with short arms and detail the face with eyes and teeth.
How Do You Draw A Velociraptor Step By Step?
Begin by sketching a basic skeleton outline. Add a curved spine, skull, and tail. Create limb shapes for arms and legs. Detail the body with muscles, claws, and the head with fierce eyes and teeth. Finally, shade your velociraptor for a realistic touch.
How Do You Draw A Realistic T-rex Dinosaur?
Begin by researching T-Rex anatomy for accuracy. Sketch the skeleton outline, paying attention to proportions. Add muscles and skin, detailing with textures. Focus on the characteristic features like the short arms and robust tail. Finally, refine with shading for a more three-dimensional appearance.
How Do You Draw Rex?
Begin by sketching a basic outline of Rex’s body. Add a large head, a powerful tail, and two strong legs. Detail the face with expressive eyes and sharp teeth. Finish by refining the scales and body contours. Use shading to add depth.
Conclusion
Embarking on the journey of drawing a dinosaur can be thrilling. By following the easy steps outlined, you’ve unlocked a fun skill. Practice will perfect your dino creations. Share your artwork and inspire others. Remember, each stroke adds to your drawing adventure.
Keep exploring your artistic path!


