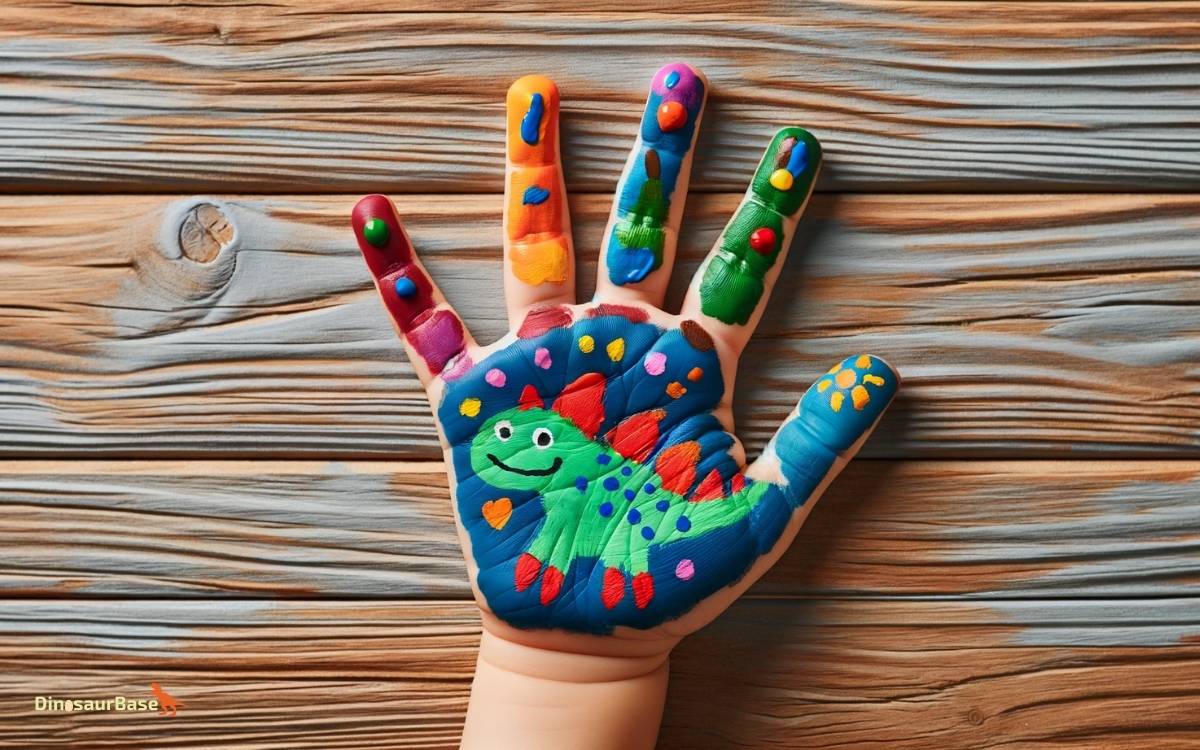
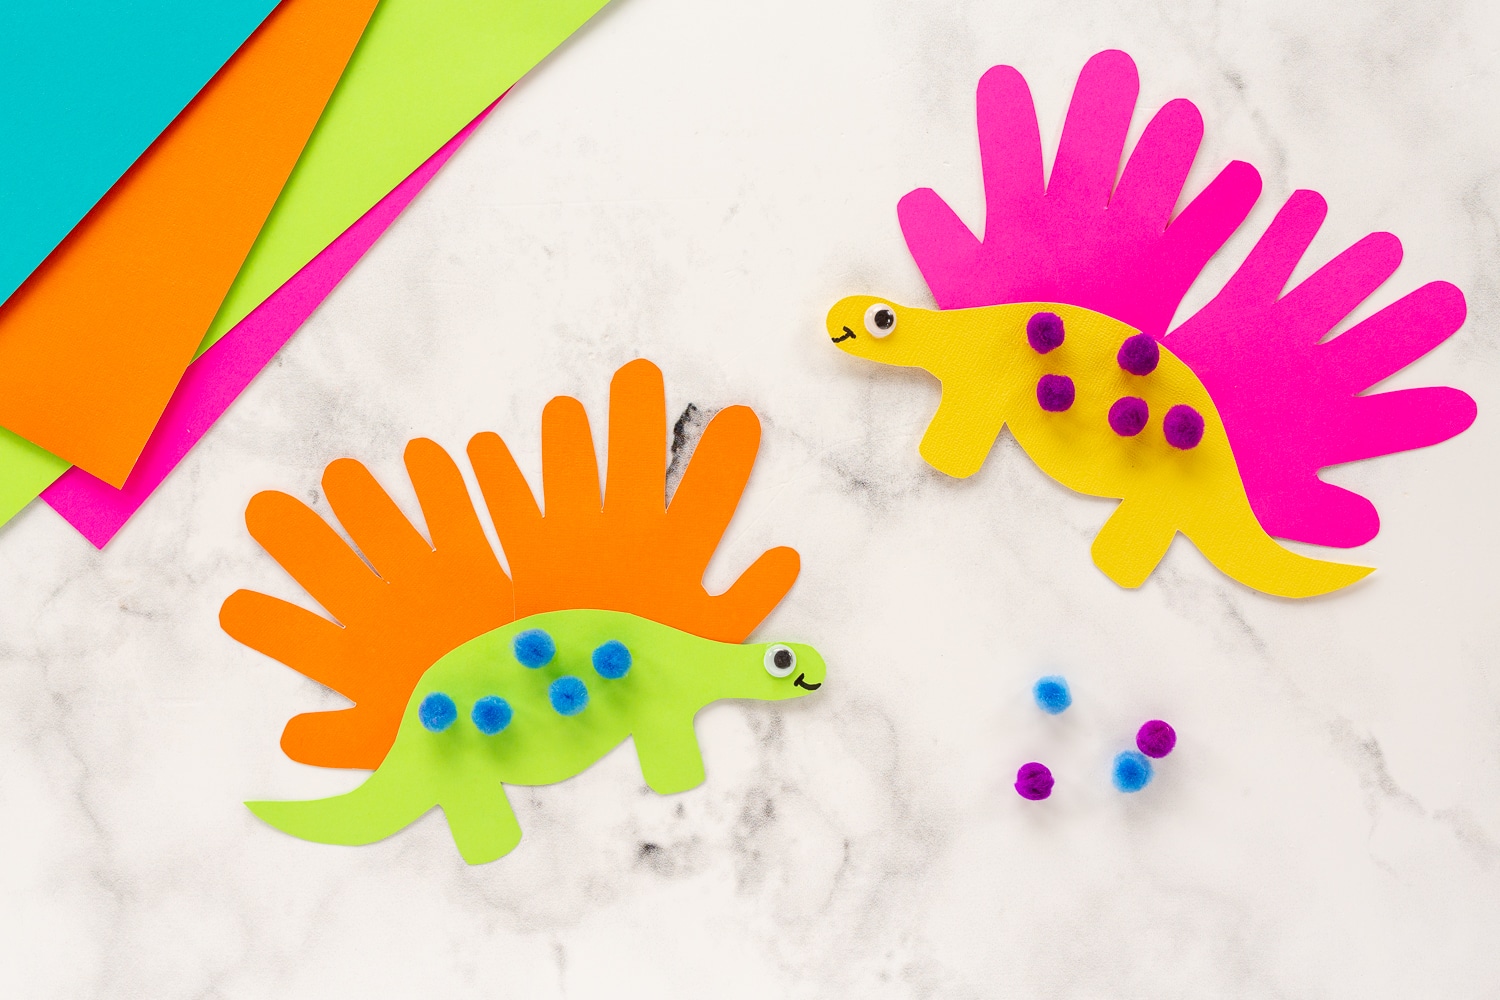
D is for Dinosaur: 7 Steps to a Perfect Handprint Craft
Create a delightful dinosaur handprint craft in seven simple steps to capture your child’s creativity. This easy project requires minimal supplies and creates a memorable keepsake.
Embarking on a craft project with your little ones is not just a fun activity; it also fosters their imaginative growth and fine motor skills. “D is for Dinosaur” becomes an educational journey as much as it is a playful endeavor.
Our guide offers a succinct, step-by-step walkthrough on transforming a basic handprint into a prehistoric work of art.
Ideal for parents, teachers, or caregivers looking to engage children in an artistic pursuit, this dinosaur handprint craft serves as a perfect rainy-day activity or a thematic addition to lessons on dinosaurs or the alphabet.
Whether you’re preparing for a school project or simply seeking a weekend craft, gather your supplies and prepare to dive into a world where dinosaurs roam once more—right from your fingertips!

The Charm Of Handprint Crafts
The art of handprint crafts brings a delightful combination of creativity and keepsake charm. Little hands pressed into paint and stamped onto paper, transform into magical memories.
These projects are not just fun; they capture moments in time, making them treasured pieces of art for families to cherish.
Combining Art And Education
Handprint crafts bridge the gap between artistic expression and learning. Through these activities, kids can explore colors and shapes while honing their motor skills.
Each finger stamp becomes an exciting opportunity for education:
- Counting fingers to practice numbers.
- Identifying colors on each handprint.
- Understanding symmetrical patterns.
Such crafts turn an ordinary afternoon into an interactive lesson, enriching a child’s developmental journey with vibrant, hands-on experiences.
Why Dinosaurs Spark Imagination
Dinosaurs are creatures of wonder, dominating the landscape of children’s imaginations. Crafting dinosaurs from handprints allows for a roaring good time:
| Dinosaur Type | Imagination Igniter |
|---|---|
| T-Rex | Stories of might and power. |
| Brontosaurus | Exploring size and scale. |
| Velociraptor | Fascination with speed and agility. |
Each dinosaur species evokes unique stories and questions, fueling a child’s curiosity. Handprint dinosaurs become more than a craft; they become a springboard for imagination and learning.
Materials Needed For Dinosaur Handprint Craft
Preparing for a Dinosaur Handprint Craft is like going on a fun, prehistoric adventure with your little ones. Think of this as your treasure map to a whole world of colorful, dino-sized fun!
Before we embark on this journey, it’s essential to gather all the right tools and equipment for our craft expedition.
List Of Essential Supplies
Let’s ensure we have every item on our checklist! Having the right supplies on hand makes the craft process smooth and enjoyable.
- Construction paper: The sturdy backdrop for our dinosaur handprints.
- Washable paints: Vibrant colors to bring our dinosaurs to life.
- Paintbrushes: For spreading paint across those tiny palms.
- Markers: To add details and smiles to our dinosaur friends.
- Glue: To attach any extra crafty additions.
- Googly Eyes: To give personality to our prehistoric creations.
- Paper Plates: Handy palettes for mixing our paint colors.
Choosing Safe And Washable Paints
Selecting the right paint is crucial. It needs to be safe for kids and easy to clean.
| Type of Paint | Why It’s Great |
|---|---|
| Non-toxic: | Protects your child’s skin and overall health. |
| Washable: | Makes for stress-free cleanup after craft time. |
| Bright Colors: | Ensures your dinosaur handprints pop on the paper. |
| Quick Drying: | Keeps the art mess to a minimum and helps preserve the craft. |
Preparation: Setting The Stage For Fun
Before we dive into our dinosaur adventure, let’s prepare our workspace! Crafting is more enjoyable when messes are no big deal, and everything you need is at your fingertips.
Follow these steps to protect your space and get organized. It’s not just about keeping clean; it’s about making a stress-free zone where creativity roars as loud as a T-Rex!
Protecting Surfaces and Clothing
Protecting Surfaces And Clothing
Keep stains away and stress levels down with a little prep for your creative session. Here’s how:
- Spread newspaper or a plastic tablecloth over the table.
- Use old shirts or aprons to shield clothes.
- Have wet wipes close by for quick clean-ups.
Organizing Materials for Easy Access
Organizing Materials For Easy Access
With our surfaces safe, it’s time to organize. Make sure all the materials are within reach to keep the fun flowing:
- Put paints on a paper plate for easy dipping.
- Line up brushes and markers.
- Gather blank sheets and handprint templates.
| Materials Needed |
|---|
| Construction Paper |
| Non-toxic Paints |
| Paint Brushes or Sponges |
| Markers for Details |
| Glue or Tape |
| Clear Workspace |
Now, with everything prepped and at your fingertips, you’re all set for a dino-mite crafting time!

Credit: www.madetobeamomma.com
Step-by-step Guide To Dinosaur Handprint Creation
Welcome to our Step-by-Step Guide to Dinosaur Handprint Creation, where art meets the prehistoric world! This fun, engaging project allows children to create their personalized dinosaur using their handprints.
Follow these simple steps to bring dinosaurs back to life with a splash of color and a lot of imagination!
Painting The Hand For Dinosaur Texture
To start, gather non-toxic, washable paint. Think about the wild colors dinosaurs might wear. Choose greens, browns, or even bold hues like purple or blue.
Cover the little artist’s hand completely with paint for a textured, scaly look. Spread the fingers slightly; these will become the dinosaur’s legs and tail!
- Squeeze paint onto a palette or paper plate.
- Use a brush to apply an even coat on the hand.
- Make sure to cover every spot for the full dinosaur effect.
The Perfect Hand Placement On Paper
Next, choose a sturdy piece of paper for the backdrop. White construction paper works best to make your dino pop. Carefully press the painted hand onto the paper.
Keep it flat and steady, then lift to reveal the basic shape of your dinosaur.
- Place the paper on a flat surface.
- Align the hand in the center with fingers spread.
- Press down firmly to transfer the entire handprint.
- Lift the hand straight up to avoid smudging.
Transforming Handprints Into Dinosaurs
Every child’s handprint is unique — much like the dinosaurs of old! Imagine turning those tiny handprints into a prehistoric gallery. It’s easy, fun, and brings imagination to life.
With paint, paper, and a sprinkle of creativity, your little ones’ hands transform into colorful dinosaurs. Get ready to roar into the world of art and ancient creatures!
Adding Details: Eyes, Mouth, And More
Watch your dinosaur come to life when you add the details. Use markers or paint to draw eyes, a mouth, and even scales.
Follow these simple steps:
- Eyes: Dot the paint or make small circles for a friendly look.
- Mouth: Curve a smile or a fierce frown with a fine brush or marker.
- Scales: Add texture by dabbing small paint spots along the back.
Exploring Different Dinosaur Species
Personalize your handprint dinosaurs by exploring various species. Get inspired by well-known types or invent your own. Here’s a quick guide:
| Dinosaur Type | Handprint Shape |
|---|---|
| T-Rex | Wide palm with short fingers |
| Triceratops | Palm with spread out fingers |
| Brachiosaurus | Long fingers to resemble a long neck |
Each dinosaur adds a unique twist to your craft. Encourage kids to name their dinosaur species. Enjoy watching your handprint dinosaur world grow!
Drying And Preserving The Masterpiece
After creating the perfect handprint dinosaur, the next crucial steps are drying and preserving your child’s artwork.
This ensures that their dino masterpiece stays vibrant and intact for years to come. Let’s walk through the drying time and some pro tips for keeping this craft treasure looking great.
Time Required For Drying
Drying time can vary, but typically, handprint crafts take 24 to 48 hours to dry completely. During this period, it’s important to place the artwork in a safe, flat area.
Ensure it’s away from direct sunlight and isn’t disturbed by pets or little siblings. Keep the room temperature consistent to avoid any warping or smudging.
Tips For Long-term Preservation
To keep the dino handprint in tip-top shape, consider these preservation tips:
- Use Clear Acrylic Sealer: Once dry, spray a light coat of clear acrylic sealer over the handprint. This creates a protective shield against moisture and fading.
- Frame Behind Glass: Placing the artwork in a frame not only showcases the piece but also protects it from dust and handling.
- Avoid Heat and Humidity: Display the craft in a cool, dry place away from heat sources which can cause colors to fade.
- Laminate for Flexibility: If you prefer a more flexible preservation method, consider laminating the artwork. This is especially helpful for school projects or display boards.
Remember, each step in the drying and preserving process adds life to your dino handprint craft. By following these suggestions, you’ll ensure this cherished creation stands the test of time.
Incorporating Educational Elements
Transforming a handprint craft into a learning experience is both fun and beneficial. It’s an excellent opportunity to combine art with education.
By turning craft time into a mini paleontology lesson, children not only spark their creativity but also fuel their curiosity about the ancient world of dinosaurs.
Learning Dinosaur Facts During Crafting
Kids love dinosaurs, and crafting offers an engaging way to learn dinosaur trivia. Start with simple facts relevant to your craft:
- The name of the dinosaur you’re creating
- Its dietary habits (herbivore, carnivore, or omnivore)
- The era it lived in (Triassic, Jurassic, or Cretaceous)
As kids paint and decorate, share fun facts. Did you know the T-Rex had teeth as big as bananas? Or that the Brontosaurus means ‘thunder lizard’?
Creating A Prehistoric Scene For Context
Draw a prehistoric scene together before starting the handprint craft. This sets the context and brings the dinosaur world to life. Use a large poster paper to sketch volcanoes, plants, and more:
| Element | Description |
|---|---|
| Volcanoes | Explain how volcanoes shaped the landscape |
| Plants | Discuss vegetation that dinosaurs might have eaten |
| Water Bodies | Describe how dinosaurs used rivers and lakes |
Adding a habitat not only makes the craft visually appealing but enriches the learning experience. It prompts questions and provides more topics to explore while crafting.
Frequently Asked Questions For D Is For Dinosaur: 7 Steps To A Perfect Handprint Craft
How To Make A Dinosaur Handprint?
To create a dinosaur handprint, first paint your hand green. Press it onto paper to make the ‘body. ‘ Add a tail, head, and legs using markers. Let dry.
How Do You Make A Handprint?
To make a handprint, coat your hand evenly with paint. Press it firmly onto paper or your chosen surface. Lift your hand straight up to avoid smudging. Allow the print to dry completely.
What Is The Best Paint For Handprints?
The best paint for handprints is non-toxic acrylic or washable tempera paint. These options are safe for skin contact, easy to clean, and yield clear prints.
How Do You Make Handprints Without Paint?
To make handprints without paint, use a non-toxic ink pad or create a handprint with colorful chalk dust. Press your hand onto the desired surface after application. Rinse your hand immediately after to avoid staining.
Conclusion
Now, as your handprint dinosaur takes shape, remember these simple steps. Not only did you foster creativity, but you also created memories.


